Sterilization and Maintenance: Keeping Your Medical Tools Safe and Effective
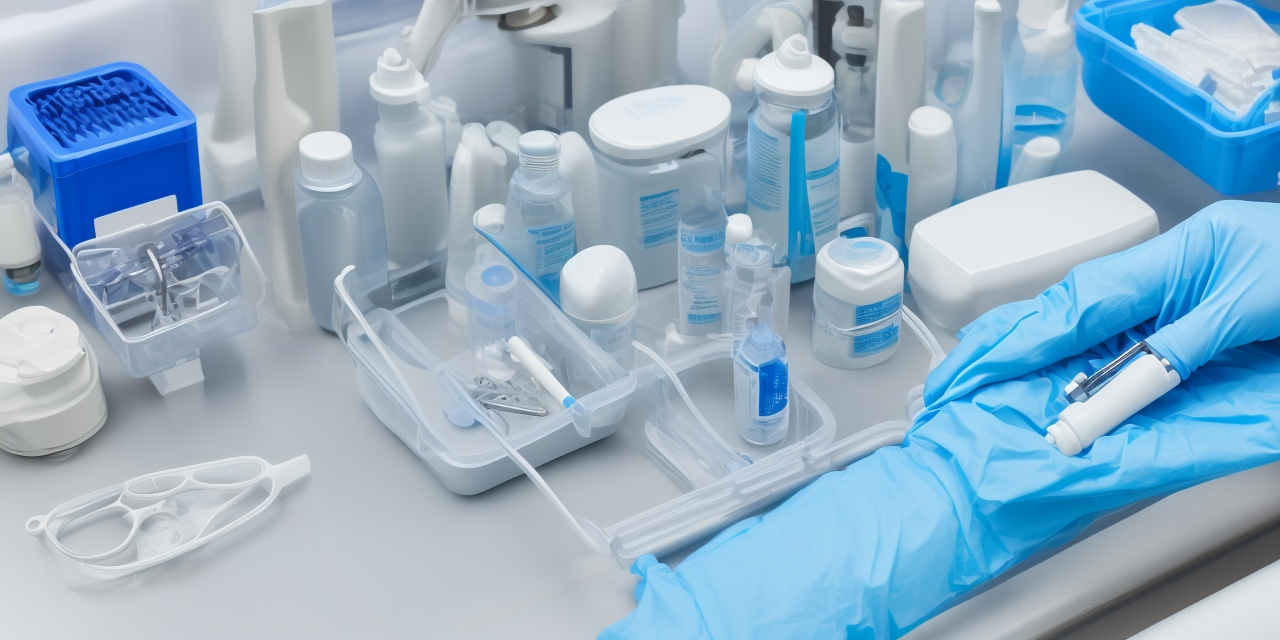
Medical tools are essential for healthcare professionals, and ensuring their cleanliness and proper maintenance is crucial for patient safety. Without proper sterilization and maintenance, medical instruments can become breeding grounds for bacteria and viruses, leading to infections and cross-contamination. This guide will cover the importance of sterilization, different sterilization methods, and maintenance best practices to keep your medical tools safe and effective.
Why Sterilization is Crucial
Prevents Infections and Cross-Contamination
Medical tools often come into contact with bodily fluids, tissues, and blood, making them highly susceptible to microbial contamination. Sterilization eliminates harmful pathogens, reducing the risk of infections and ensuring patient safety.
Prolongs the Lifespan of Medical Instruments
Proper sterilization and maintenance prevent corrosion, rust, and wear, thereby extending the durability and functionality of medical instruments.
Complies with Health Regulations
Healthcare institutions must adhere to stringent health and safety guidelines set by organizations such as the World Health Organization (WHO) and the Centers for Disease Control and Prevention (CDC) to ensure sterilization standards are met.
Common Sterilization Methods
There are multiple sterilization techniques used in medical settings, depending on the type of instruments and the level of sterilization required. Below are the most effective methods:
1. Autoclave (Steam Sterilization)
Autoclaves use high-pressure steam at temperatures ranging from 121°C to 134°C to kill bacteria, viruses, and spores.
✅ Best for: Surgical tools, metal instruments, and reusable medical devices.
✅ Advantages: Highly effective, quick, and environmentally friendly.
❌ Disadvantages: Not suitable for heat-sensitive instruments.
2. Dry Heat Sterilization
Dry heat sterilization involves heating instruments at temperatures of 160°C to 180°C for extended periods.
✅ Best for: Glassware, metal instruments, and powders.
✅ Advantages: No moisture involved, preventing rust and corrosion.
❌ Disadvantages: Takes longer than other methods and is not suitable for plastics or rubber.
3. Chemical Sterilization
Chemical sterilization involves the use of disinfectants like glutaraldehyde, peracetic acid, or hydrogen peroxide to sterilize instruments.
✅ Best for: Endoscopes, plastic instruments, and heat-sensitive tools.
✅ Advantages: Does not require heat, making it suitable for delicate instruments.
❌ Disadvantages: Chemicals can be hazardous if not handled properly.
4. Ethylene Oxide (EO) Gas Sterilization
EO sterilization uses ethylene oxide gas at low temperatures to sterilize medical tools.
✅ Best for: Catheters, electronic devices, and plastic instruments.
✅ Advantages: Highly effective, penetrates complex instruments.
❌ Disadvantages: Long processing time and requires strict safety measures.
5. Ultraviolet (UV) Light Sterilization
UV light sterilization uses UV-C light to destroy bacteria and viruses.
✅ Best for: Small tools, surfaces, and air purification.
✅ Advantages: Quick, chemical-free, and easy to use.
❌ Disadvantages: Limited penetration, only suitable for surface sterilization.
Best Practices for Maintenance of Medical Tools
Sterilization is only effective when medical instruments are properly maintained. Here are essential maintenance tips:
1. Clean Instruments Before Sterilization
Always clean medical tools immediately after use to remove blood, debris, and bodily fluids before sterilization. Use warm water, enzymatic detergents, and a soft brush to clean instruments thoroughly.
2. Inspect Instruments Regularly
Before and after each sterilization cycle, inspect instruments for signs of rust, corrosion, or physical damage. Discard or repair damaged tools immediately.
3. Lubricate Hinged Instruments
Apply a medical-grade lubricant to hinged instruments like scissors and forceps to ensure smooth operation and prevent rust.
4. Store Instruments Properly
Store sterilized instruments in sealed, dry pouches or sterile containers to prevent contamination. Ensure storage areas are dry and away from moisture.
5. Use Sterilization Indicators
Sterilization indicators, such as chemical strips or biological indicators, help verify that instruments have been successfully sterilized.
6. Keep Detailed Records
Maintain proper documentation of sterilization cycles, including dates, methods used, and test results for regulatory compliance and tracking purposes.
Common Sterilization Mistakes to Avoid
🚫 Skipping the cleaning step before sterilization. Instruments must be thoroughly cleaned before sterilization for the process to be effective.
🚫 Overloading the autoclave. Overcrowding tools inside the sterilizer can lead to improper sterilization.
🚫 Using expired sterilization chemicals. Always check expiration dates and proper concentration levels of sterilizing agents.
🚫 Improper storage of sterilized instruments. Keep tools in a clean, dry, and sealed environment to maintain sterility.
🚫 Not conducting regular maintenance checks. Failing to inspect instruments can lead to malfunctions and contamination risks.
Final Thoughts
Sterilization and maintenance of medical tools are vital in ensuring patient safety and effective medical care. By implementing proper sterilization techniques, following best practices, and avoiding common mistakes, healthcare providers can prevent infections and extend the lifespan of medical instruments.
At Dent52.com, we offer a wide range of sterilization-ready medical equipment to help healthcare professionals maintain the highest hygiene standards.
🔹 Explore our collection of high-quality medical tools today!


